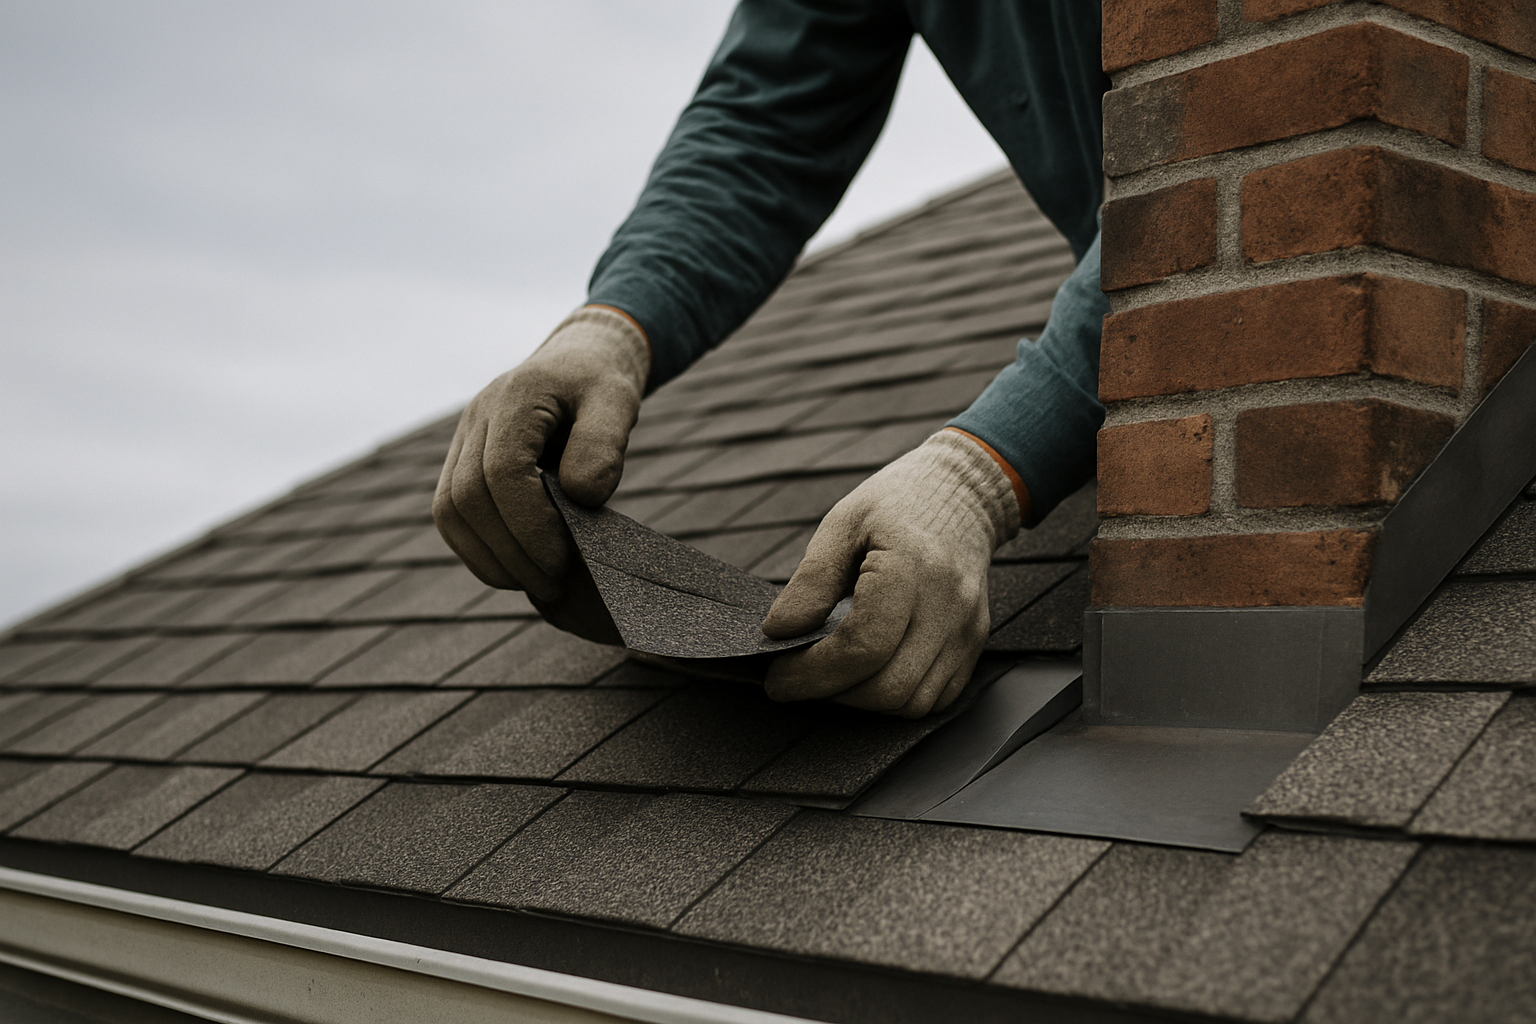
A cracked rubber collar around a plumbing vent is one of the most common roof leaks in Atlantic County, and it usually fails years before the shingles around it. Pipe boot flashing repair in Atlantic County starts with confirming the boot is the actual source, then deciding between a temporary sealant patch and a full plumbing vent boot replacement.
Why a pipe boot leaks before the shingles do
Every plumbing vent stack that passes through a residential roof is sealed by a pipe boot: a flashing assembly with a base that ties into the shingles and a flexible collar that grips the pipe. The collar is the weak point. The rubber collar around a plumbing vent stack cracks from ultraviolet exposure, typically well before the shingles around it wear out, and once it splits the stack becomes a funnel pointed straight at the bathroom ceiling.
That sequence is why this page exists. A homeowner sees a water stain on a bathroom ceiling and assumes a shingle failed. Most of the time, the shingles are fine. The open field of a roof almost never leaks. Shingles in the middle of a slope are doing the simplest job on the whole roof, which is shedding water downhill onto more shingles. Leaks happen at transitions, interruptions, and fasteners. A vent pipe is an interruption, and the rubber collar around it is the most reliably failing component on any roof.
The failure has a consistent pattern. Ultraviolet light breaks down the surface of the rubber and makes it hard and brittle. Heat cycling flexes the collar every day as the pipe and the roof expand and contract at different rates. Salt air near the coast adds a corrosive load on the base and the fasteners. At some point the collar cracks where it is stretched around the pipe or where it meets the base, and water runs down the outside of the pipe, follows it through the deck, and shows up as a stain on the ceiling below.
"Typically" is the important word. A boot can fail early on a fully exposed south slope, or it can still be holding on a shaded roof. What stays constant is the failure order: the rubber usually goes before the shingles around it. That is why a cracked boot should be checked on every roof that is otherwise still in service, and why a roofer who finds one cracked boot will usually check the others while they are up there.
There is a second reason the boot matters beyond the leak itself. Because the collar fails slowly, water can enter for months or years before anyone notices a stain. By the time the stain appears on the ceiling, the deck sheathing around the pipe may already be soft. The visible leak is the last event in the sequence, not the first.
How do I know the vent boot is the source of the leak?
Before paying for a roof pipe boot leak repair, confirm the boot is actually the source. Two pieces of evidence together are usually enough: a ceiling stain or drip that lines up vertically with a plumbing vent, and attic evidence on the deck around the pipe. Work through these checks in order.
Find the vent. In the attic, locate the plumbing vent stack. It usually rises from a bathroom, kitchen, or laundry wall and exits through the roof deck. If the stain is on a first-floor ceiling and the vent is two floors up, keep an open mind, because water travels.
Look at the deck sheathing around the penetration. A roof leak around a vent pipe typically leaves a dark stain, a water mark, or soft, delaminated wood in a ring or a fan shape around the pipe. This is the single most useful piece of evidence because it shows water entering at the penetration rather than running across the underside of the roof from somewhere else. If it is safe to reach, press the wood gently with a screwdriver. Soft or crumbly decking is a different repair than a simple boot swap.
Follow the framing. Water runs downhill along rafters and sheathing, and it can drip far from the entry point. A ceiling stain that does not sit directly under the pipe does not rule out the boot. Trace the water path, not just the stain. This is the same reason a ceiling stain can appear far from where the roof is actually leaking.
Check the insulation. Wet or stained insulation near the stack, or a water trail on the underside of the deck, points to the penetration. Insulation that is wet but has no visible hole above it is a classic sign of a slow leak that follows a rafter or a pipe.
Rule out condensation. On cold mornings, a vent pipe can collect condensation that drips and looks like a leak but never actually passes through the deck. Condensation tends to be uniform around the pipe and worse in humid or cold weather. A roof leak usually has a defined path, a stain that grows after rain, and deck damage at the penetration. If the attic is dry and the stain appears only in cold weather, condensation is a candidate. If the stain appears after rain, the boot is more likely.
Do a daylight check where the attic allows it. If you can see daylight around the pipe where the boot has torn or lifted, water can get in. This check only works when the attic has enough visibility and the pipe is accessible, but it is free and fast.
Look at the boot from the outside. From a safe position, check whether the collar is cracked, the base is lifted, or the fasteners are corroded. A collar that looks like dry, cracked rubber at the base of the pipe is a boot that has already begun to fail, even if no stain has shown up yet.
Do not run a garden hose on the roof to test the boot unless you know exactly where the water will go and how long to wait. A homeowner water test can turn a small leak into a big interior one. A roofer does a controlled water test after the repair, starting low and working up, to confirm the fix without flooding the house.
If the evidence is ambiguous, that is exactly when a free inspection with photos earns its keep. The inspector can stand at the penetration, photograph the collar, and show you the crack or the lifted base rather than asking you to guess from a wet spot on a ceiling. The photograph is also what you keep for your records and, if the damage is storm-related, for the insurance file.
Rubber, metal, or lead: how each pipe boot ages in Atlantic County
Pipe boots come in different materials, and the material decides the failure mode. In Atlantic County, three aging forces work on every boot: ultraviolet light, heat cycling, and salt air. They do not affect rubber, metal, and lead the same way.
| Material | How it ages in Atlantic County | What a roofer looks for |
|---|---|---|
| Rubber collar on a metal or plastic base | UV hardens and cracks the rubber; heat cycling flexes it until it splits | Cracks at the collar, hardening, tears where the collar meets the base |
| Thin metal base or all-metal boot | Salt aerosol corrodes fastener heads and thin flashing metal | Rust through at the base, corroded or missing fasteners, lifted edges |
| Lead boot | Soft and formable; can tear where it was worked or split at a seam over time | Cracks or holes at the fold, damage from foot traffic, a loose fit around the pipe |
Rubber pipe boot lifespan is not a fixed number, and a homeowner should be suspicious of anyone who quotes one without looking at the roof. What is reliable is the failure order: the rubber is usually the first component on the roof to fail, before the shingles. Exposure drives the timeline. A boot on a south-facing, unshaded slope gets more UV and more thermal cycling than one on a shaded north slope. A boot on a barrier island gets salt aerosol on top of the sun, and salt aerosol corrodes fastener heads and thin flashing metal in towns like Ventnor City, Margate City, Longport, Brigantine, and Atlantic City.
Rubber fails by cracking and hardening. UV breaks the polymer surface down, the collar loses its flex, and the daily expansion and contraction eventually opens a split, usually right where the collar is stretched around the pipe or where it bends at the base. Once the split opens, the pipe becomes a channel for water.
Metal fails by corrosion. The base can rust through at the fasteners or at the lap where water sits, even when the rubber collar looks serviceable. On the coast, a metal base can fail from corrosion before the shingles show any problem, which is why a repair inspection looks at the base and the fasteners, not just the collar. A corroded fastener that has lost its head is a small problem that becomes a big one when the base lifts in the next storm.
Lead boots are less common on new construction but still show up on older roofs. Lead is soft and formable, which made it easy to dress around a pipe by hand, but the same softness means it can tear where it was folded, split at a seam, or be punctured by a misplaced foot. A lead boot that is still intact can be left alone. A torn one is replaced the same way as a cracked rubber one. The material is not the problem; the condition is.
The point of the material comparison is not to send a homeowner out shopping for a specific boot. The correct choice follows the existing roof system, the pipe size, the slope, and the shingle manufacturer's instructions. A roofer picks a boot that matches the pipe and the roof. The homeowner's job is to make sure the old one is actually replaced, not smeared with sealant. If a contractor insists on a material without looking at the roof, that is a reason to keep looking.
Should I patch the boot or replace it?
The repair standard on this site is explicit: pipe boots should be replaced outright every time, because the rubber is usually the first component on the roof to fail. That is not an upsell. It is the cheapest correct fix relative to what a failed patch costs later.
A temporary sealant patch is a stopgap, not a repair. It is acceptable in one narrow situation: water is actively entering the house, a proper replacement cannot be completed immediately, and the goal is to limit interior damage until the roofer gets there. Emergency tarping and temporary sealing serve the same purpose. They buy time; they do not close the hole.
Sealant fails because the boot moves. The rubber expands and contracts with temperature, the pipe moves slightly with wind and house movement, and ultraviolet light degrades most sealants the same way it degrades the rubber. A bead of caulk over a split collar may stop water for days, sometimes weeks, but it does not restore the lap between the flashing base and the shingles, and it does nothing for water that is already running under the boot.
The risk of a "temporary" patch is that it becomes permanent by default. The stain stops, the homeowner stops thinking about it, and the deck keeps rotting. The money spent on sealant is not the expensive part. The hidden deck repair is.
Replace the boot when any of these are present:
- The rubber collar is cracked, split, hardened, or torn.
- The base is rusted through, lifted, or separated from the shingles.
- Fasteners are corroded, missing, or backing out.
- The deck around the pipe shows staining, softness, or rot.
- Water is entering during ordinary rain, not just in a nor'easter.
If you see any of those, a patch is money spent on a problem that is still there. The correct sequence is: stop the active leak with a temporary measure if you must, photograph the damage for your records, and schedule the replacement. If the leak is storm-related, photograph before you patch, because the before-photographs are part of the claim file.
There is one exception worth naming. If the boot is intact and the leak is actually coming from a failed lap at the base or a missing fastener, a targeted repair of that lap may be all that is needed. That is not the same as sealing a cracked collar. The distinction is why the inspection looks at the boot before pricing anything.
How a pipe boot flashing repair should be installed
Pipe boot flashing is not a caulk job. It is a layered flashing detail that has to work with the underlayment, the ice-and-water shield, and the shingle courses so water always sheds over the flashing and never under it. The order of the layers is the repair.
- Prepare the deck. The boot is removed, the area around the pipe is exposed, and any rotten or delaminated sheathing is cut out and replaced. Nobody can see the condition of the sheathing until the old flashing is out, which is why an honest proposal includes a per-sheet price for decking replacement rather than pretending the number is zero.
- Install the underlayment and ice-and-water shield so they lap onto the penetration. The underlayment below the boot should be continuous enough that water running on it is directed over the flashing, not under it. Ice-and-water shield matters most at eaves, valleys, and penetrations, where water can be driven under the shingles by wind or backed up by ice. The shield is part of the waterproofing at the pipe, not an optional extra.
- Set the boot base with the laps correct. The upper edge of the base slides under the course of shingles above the pipe, and the lower edge laps over the course below. Water running down the roof hits the shingle above, runs onto the boot base, and continues down over the shingle below. If the laps are reversed, water runs under the flashing and straight to the deck.
- Fit the collar without forcing it. The collar must grip the pipe without being stretched or wrinkled. A collar that is forced onto the wrong pipe size will crack early. The collar is not the primary water barrier for rain running down the roof; the base laps are. The collar's job is to close the gap around the pipe.
- Fasten the base where the shingle above will cover it. Fasteners go through the base at points that the overlying shingle covers, and exposed fastener heads are sealed. None of that replaces the mechanical lap; sealant is secondary.
- Reinstall the shingles over the base. The shingle above is set down over the upper edge of the base, and the detail is complete only when water can run from the top of the slope to the eave without meeting an open edge.
The order is not cosmetic. A boot set on top of the shingles with caulk around the edges will leak because every lap is backward. A boot set under the shingle above but with the lower edge tucked under the shingle below will leak at the bottom lap. The correct detail is the one where every edge is covered in the direction water flows.
On a coastal roof, the detail matters more. Wind-driven rain can move water uphill against the lap, so the base must be secured and the ice-and-water shield must extend far enough to catch water that gets driven under the shingles. A roof that was specified for a subdivision in central Jersey is not specified for a bayfront house in Margate, and the flashing details are part of that difference.
The exact placement follows the shingle manufacturer's instructions and the local building code, and it is part of what manufacturer-certified installation means on a replacement or repair. A homeowner does not need to memorize the lap order. What a homeowner needs to know is whether the contractor can describe it. If the answer is "we'll caulk it," the boot will be back in a year.
One more scope question: municipal permits. A simple boot swap on an existing roof may not trigger a permit, but if the repair grows into structural deck work, the scope can. The roofer should tell you before work starts rather than finding out after the deck is open.
What pipe boot flashing repair in Atlantic County costs
HappyRoof publishes that most roof repairs in Atlantic County fall between $400 and $1,800, and the low end covers straightforward, accessible work such as replacing a cracked pipe boot. Those are single-visit jobs where the material cost is modest and the labor is measured in hours.
What moves a pipe boot job from the low end toward the middle or top of that range is access and what is found underneath.
Roof pitch and height. A single boot on a walkable slope with easy ladder access is the cheap end. A steep, high, or cut-up roof takes more setup, safety equipment, and time, and that time is labor. Roof pitch changes how the crew can stand, what fall protection they need, and how many people the job takes.
Access to the roof. On the barrier islands, staging is the challenge. Narrow lots, shared driveways, and summer parking restrictions mean the crew plans access before the repair. A boot that is simple in the abstract can take longer because the ladder setup and material staging are harder.
Number of boots. A roof with one vent is one job. A roof with multiple plumbing vents, a radon stack, and a bath exhaust has multiple penetrations, and doing them in one visit is usually cheaper per penetration than returning for each one.
What is found when the boot comes off. The hidden cost is deck rot. If water has been running down the pipe for years, the repair is no longer just a boot. Deck rot in Atlantic County clusters in predictable places, and a vent penetration that has been leaking slowly is one of them. An honest proposal includes a per-sheet price for decking replacement so the number is not a surprise.
What does not change the price much. The rubber boot itself is not the expensive part of the job. The labor, the setup, and the risk of what is underneath are. A homeowner who shops for the cheapest boot is optimizing the wrong line item.
The published range is a planning figure, not a quote for a specific house. A quote requires seeing the roof, the pitch, and the pipe. HappyRoof gives itemized written pricing before work starts, so the boot, the labor, and any discovered deck work are separate line items rather than a single mystery number.
What a pipe boot replacement includes, and what it does not
A proper pipe boot replacement is a small flashing job, but it has a defined scope. Knowing the boundaries prevents both underpaying and overpaying.
A complete replacement includes:
- Removing the old boot and inspecting the deck around the pipe
- Replacing any small area of damaged underlayment or shield around the penetration
- Installing the new boot with the correct laps
- Reinstalling and sealing the surrounding shingles
- A water test to confirm the fix
- Cleanup, including a magnet sweep for nails
A boot replacement does not automatically include:
- Full deck replacement beyond the small area around the pipe
- Repairing or replacing the plumbing vent pipe itself
- Interior drywall or paint repair for the ceiling stain
- Unrelated penetrations, valleys, or flashing details found during the inspection
Interior repair is the one that surprises people. A roofer fixes the water entry; the stained drywall is a separate interior repair. HappyRoof's written statement makes clear what the repair does and does not address, so the ceiling patch is not a surprise after the roof is dry.
Furnace B-vent, radon stacks, and bath exhausts: the same flashing logic
Any pipe, stack, or vent that penetrates the roof uses the same flashing logic as a plumbing vent: a base that laps under the shingles above and over the shingles below, and a collar or counter-flashing that closes the gap around the penetration. What changes is the pipe's temperature, size, and termination.
Furnace B-vent. A B-vent carries hot flue gases from a gas appliance. It needs flashing and clearances rated for that heat. A rubber plumbing boot is not a substitute; the heat will destroy the rubber. The flashing detail is the same in principle, but the material and the clearance to combustibles are set by the vent manufacturer and the mechanical code, not by whatever fits. A roof leak around a B-vent is often a double problem: water entry at the flashing and an improper or deteriorated vent termination.
Radon stacks. A radon mitigation stack is essentially a pipe through the roof, and it is flashed the same way as a plumbing vent. The practical differences are pipe size and the fact that the fan may run continuously, so a leak is a steady one. A radon stack that is also a plumbing vent does not change the flashing logic; it just means the boot has to fit the actual pipe.
Bath exhausts. A bath exhaust termination is small and frequently done badly: a hole cut, a cap screwed down, and caulk smeared around it. It needs a proper flashing or termination assembly and a cap that keeps rain and birds out while letting exhaust air leave. Caulk alone will fail, for the same reason a caulked pipe boot fails. A bath exhaust that terminates in the attic is a different problem entirely, a moisture load, not a flashing leak.
Chimneys, skylights, and sidewalls. These use related but heavier flashing. Step flashing at sidewalls is replaced piece by piece, one L-shaped piece per shingle course, woven into the courses. Chimneys need step flashing plus counter-flashing set into a cut reglet in the masonry. Skylights need curb flashing and seals. The common rule is the same one that applies to a pipe boot: the open field of a roof sheds water, and the transitions are where it gets in.
The reason to group these is diagnostic. If a homeowner traces a leak to "something sticking through the roof," the fix is not automatically a pipe boot. The material, the clearance, and the termination have to match what the pipe is actually doing, which is why the inspection identifies the penetration before it prices the repair. A furnace vent, a radon stack, and a plumbing vent may all look like a pipe through the roof, but the correct flashing is not interchangeable.
What to have ready before you call
A few minutes of prep makes the inspection faster and the record better. You do not need to get on the roof; the inspector does that. You need to be able to show where the stain is and when it appears, because that is the first clue in tracing the path.
Have these ready when you call:
- Photos of the ceiling stain, with the date they were taken
- A note on whether the stain grows after rain or appears only in cold weather
- Attic access and the general location of the vent stack
- A list of penetrations you know about: plumbing vents, furnace vent, radon stack, bath exhausts
- Insurance policy details if the leak is storm-related
- Any previous roof work records
None of that is required to book an inspection, but it shortens the diagnosis. The most useful single item is a photo of the stain, because it tells the inspector where to start looking in the attic and on the roof.
What to expect from a HappyRoof inspection and repair
The process follows the company's repair model rather than a sales script.
- Book the free inspection. HappyRoof offers free roof inspections with real photos of the roof. The call is (609) 525-4521.
- The inspector traces the leak, not the stain. The inspection starts with the ceiling stain or the attic evidence and works back to the penetration, photographing the actual defect. Before-and-after photographs of the actual defect are part of the repair record.
- You get an honest remaining-life assessment. If the roof has ten good years left, you will hear that too. The inspection is not built to sell a replacement when a boot swap is the correct repair.
- You get itemized written pricing before anything starts. The boot, the labor, and any discovered deck work are separate lines. The statement also makes clear what the repair does and does not address.
- The same in-house crew does the repair. The company's model is that the people who inspect are the people who install, with no day-labor crews and no disappearing subcontractors.
- The repair is verified, not assumed. The crew checks the lap, the collar fit, and the deck condition before closing up, and a controlled water test confirms the fix.
- Cleanup is part of the job. Full cleanup includes a magnet sweep for nails.
If the leak is active and a nor'easter is on the way, emergency tarping is available to limit damage until the repair can be scheduled. If the leak is storm-related, the company documents the damage and can meet adjusters as part of an insurance claim. It does not act as a public adjuster or legal advisor, and no New Jersey contractor may lawfully absorb or waive a deductible.
The repair record is part of the value. It includes before-and-after photographs of the actual defect, a clear statement of what the repair does and does not address, and proof of current New Jersey licensing and insurance on request. That record is the difference between a boot that was replaced and a boot that was merely "looked at."
Where HappyRoof works in Atlantic County
HappyRoof serves every town in Atlantic County, and the failure modes divide along geography.
On the barrier islands, the dominant problem is mechanical. Sustained ocean wind works at shingle edges, and salt aerosol corrodes fastener heads and thin flashing metal. A pipe boot in Ventnor City, Margate City, Longport, Brigantine, or Atlantic City can look sun-baked and rusted at the base even when the shingles are intact. The salt air does not cause the crack in the rubber, but it accelerates the corrosion of everything that holds the boot down.
Inland, the Pine Barrens leaf load and shaded north slopes create different problems. Leaves and needles hold water at the eaves and in valleys, and a boot near a valley or a heavily shaded slope stays wet longer. Freeze-thaw cycles work on any small gap in the flashing, and a boot that is marginal in August can be leaking by February.
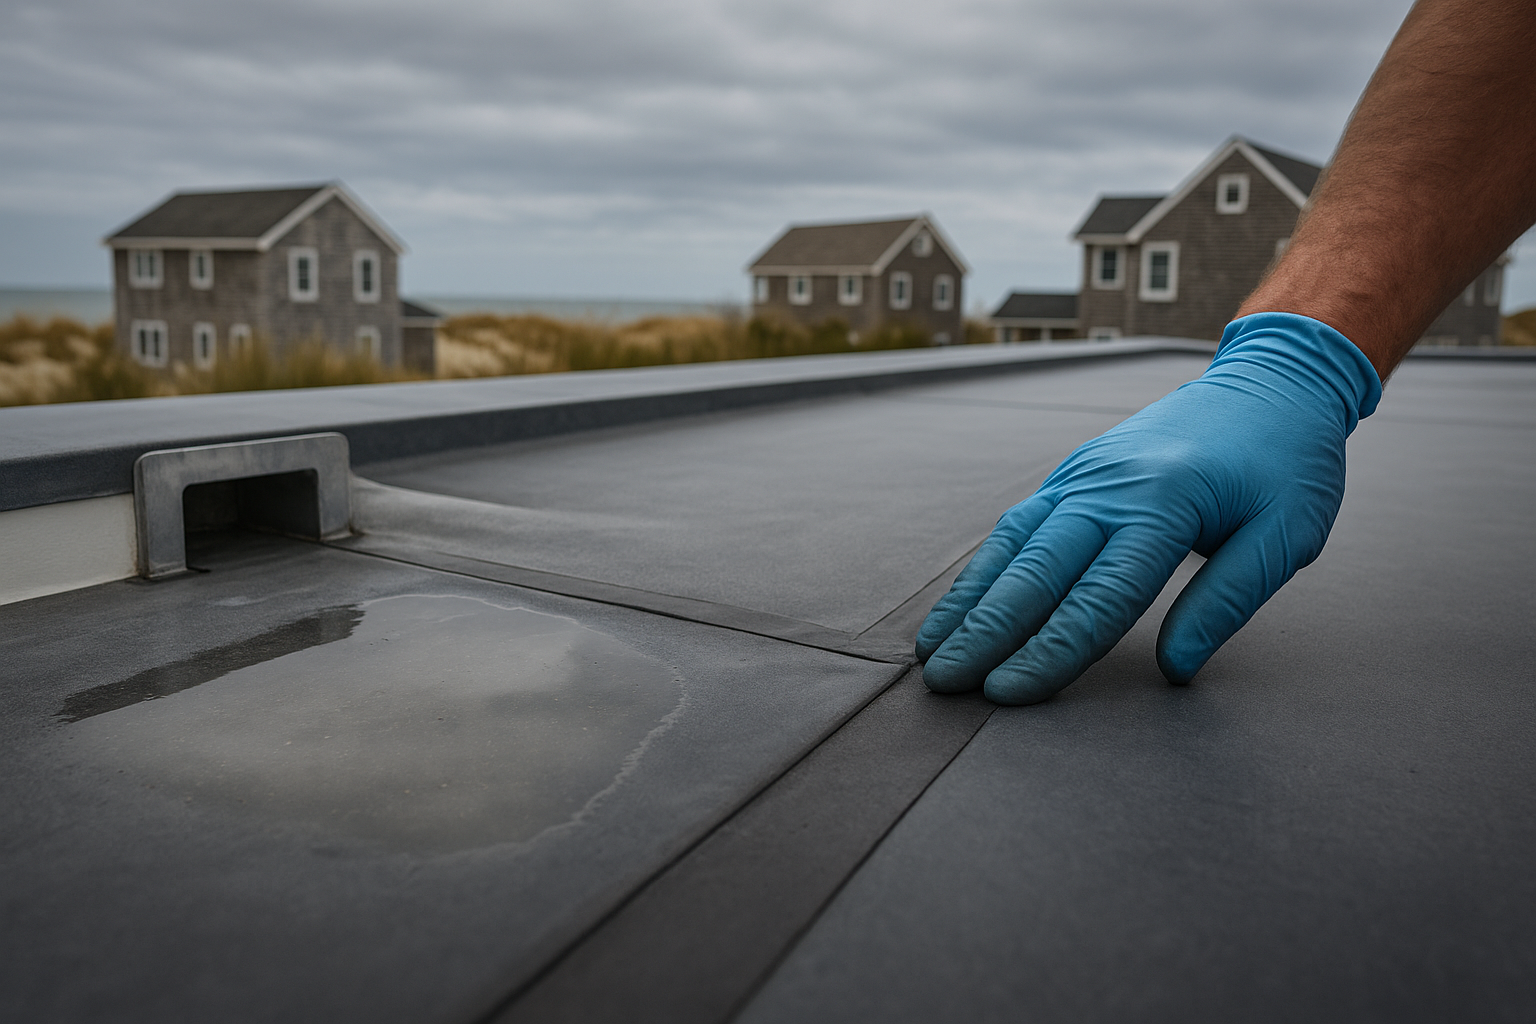
In the older neighborhoods of Atlantic City and Pleasantville, low-slope rear and porch roofs often need membrane work rather than shingle work, which is a different repair and a different material. A pipe penetration on a low-slope membrane roof is flashed differently from one on a shingle roof, and a shingle-style boot is not the fix.
The service area includes Egg Harbor Township, Galloway, Hammonton, Mays Landing, Northfield, Linwood, Somers Point, Absecon, Pleasantville, Atlantic City, Ventnor City, Margate City, Longport, Brigantine, Egg Harbor City, Mullica Township, Hamilton Township, Buena, Folsom, Port Republic, Estell Manor, and Weymouth Township.
The logistics differ more than people expect. On the island towns, narrow lots, shared driveways, and summer parking restrictions mean access is planned before the repair. A boot replacement in Margate in July is not the same job logistically as the same boot replacement in Hammonton in October, even if the flashing detail is identical.
Frequently asked questions
How much does pipe boot replacement cost in Atlantic County?
Most roof repairs in Atlantic County fall between $400 and $1,800, and a straightforward cracked pipe boot on an accessible roof sits at the low end of that range. Pitch, height, access, and any deck rot found underneath move the number up. HappyRoof provides itemized written pricing before work starts.
How do I know the vent boot is leaking and not the shingles?
Trace the evidence. A ceiling stain that lines up vertically with a plumbing vent plus a dark ring or soft deck around the pipe in the attic points to the boot. Shingles in the open field rarely leak; penetrations do. A free inspection with photos confirms the actual source instead of guessing from the stain.
Can I seal a cracked pipe boot myself instead of replacing it?
A temporary sealant patch is a stopgap for active water entry, not a repair. The rubber keeps moving, and sealant fails the same way the boot did. The correct fix is to replace the boot outright, because the rubber collar is usually the first component on the roof to fail.
How long should a rubber pipe boot last?
There is no honest fixed number. Rubber pipe boot lifespan depends on UV exposure, heat cycling, salt air, and installation. What is reliable is the failure order: the rubber collar typically cracks before the shingles wear out. That is why the inspection photographs the actual boot instead of quoting a generic timeline.
Will a pipe boot leak be covered by insurance?
It depends on the cause and the policy. Storm or wind damage is different from long-term wear and tear. HappyRoof documents damage and can meet adjusters, but it does not act as a public adjuster or legal advisor, and no New Jersey contractor may lawfully absorb or waive a deductible.
Do I need a permit to replace a pipe boot?
A simple flashing replacement on an existing roof may not require one, but if rotten decking is found and the scope grows into structural repair, municipal permitting can apply. The roofer should confirm the requirement before work starts rather than after the deck is open.
If a stain is forming under a vent pipe or the rubber collar looks cracked, the next step is a free inspection with photos and an itemized written price. Call HappyRoof at (609) 525-4521.